

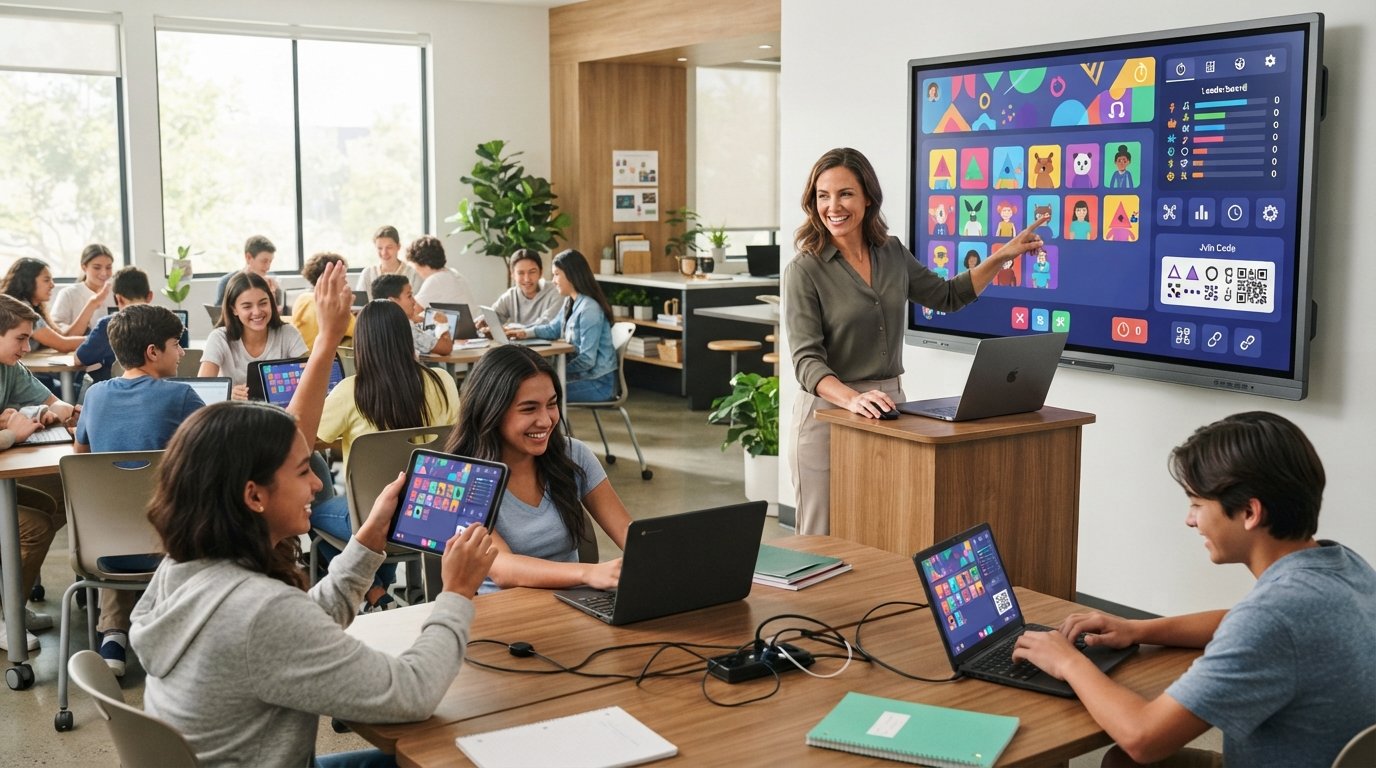
A Gimkit host is the person who runs a live Gimkit game. In most classroom situations, that person is the teacher or educator who selects a Kit, chooses a game mode, configures the session, shares the game code or join link, starts the game, and manages the activity.
Hosting a Gimkit game is straightforward once the basic workflow is familiar:
Choose a Kit → Select a game mode → Configure the options → Share the game code or link → Start the game.
Gimkit’s official hosting instructions follow this same process.
What Is a Gimkit Host?
A Gimkit host controls the live game from the educator side.
The host chooses the questions students will answer, selects the game format, decides which settings to use, opens the lobby, lets students join, and starts the session.
During the game, the host can also monitor players and use available controls depending on the selected mode.
In a typical classroom, the teacher is the host and students are the players.
This distinction is important because hosting and joining are two different processes.
Gimkit Host vs. Student: What’s the Difference?
The host and students have different responsibilities during a live game.
| Gimkit Host | Student |
|---|---|
| Selects the Kit | Joins the host’s game |
| Chooses the game mode | Answers questions |
| Configures game options | Participates in the activity |
| Shares the game code or link | Enters the code or uses the link/QR code |
| Starts the game | Plays the selected mode |
| Manages the session | Follows the game rules |
| Monitors players | Sees their own gameplay |
| Reviews reports | May see their performance depending on the setup |
Only the educator needs an account to create Kits and host games. Student accounts are optional for participating in live games.
What You Need Before Hosting a Gimkit Game
Before starting a live session, make sure the basic pieces are ready.
A Gimkit Educator Account
You need a Gimkit account to create Kits and host games. Creating the account itself is free, although Gimkit also offers an optional Pro subscription.
A Kit With Questions
A Kit is the question set used during the game.
You can prepare the questions before class so that the hosting process is faster when students are ready.
A Device and Reliable Connection
Because the game is live, the host should have a reliable internet connection and a device capable of running the browser-based session.
It is also worth having the game ready before students begin joining.
How to Host a Gimkit Game Step by Step
The official Gimkit workflow is simple, but each stage has a purpose.
1. Sign In to Your Educator Account
Open Gimkit and sign in to the educator account you use for hosting.
Your dashboard is where you can access your existing Kits and start a live session.
2. Select a Kit
Choose the Kit you want students to use.
From the dashboard, Gimkit provides a Play Live option next to a Kit. You can also start a live game from inside a Kit.
Make sure the Kit contains the questions you actually want students to review before starting the session.
3. Click Play Live
Selecting Play Live opens Gimkit’s Mode Picker.
This is where you choose how the questions will be presented as a game.
4. Choose a Game Mode
Browse the available modes and select the one that fits your class and activity.
Gimkit provides different modes for different types of gameplay, and some modes have their own settings and requirements.
If you’re unfamiliar with a mode, Gimkit’s Mode Picker provides a Learn More option for available modes.
5. Configure Game Options
After choosing a mode, you’ll reach the Game Options screen.
Depending on the mode, you may be able to configure options such as:
- Game goals
- Time
- Classes
- Late joining
- Nickname Generator
- Mode-specific settings
Gimkit notes that game options vary between modes.
6. Open the Lobby
Continue through the setup and Gimkit opens a lobby.
The lobby is where students gather before the game starts.
This is an important checkpoint for the host because you can see who has joined before starting the activity.
7. Share the Game Code, QR Code, or Join Link
Students can join using several methods.
You can:
- Display the game code
- Display the QR code
- Copy and share the direct join link
- Have students visit the Gimkit join page and enter the code
Gimkit’s official joining instructions direct students to gimkit.com/join, where they can enter the game code.
To display the QR code while hosting, hover over the game code on the host screen.
8. Check the Players
Before starting, look through the lobby.
Make sure the expected students are present and watch for unfamiliar or inappropriate names.
In non-2D games, Gimkit specifically notes that the lobby can be used to review names and remove inappropriate players.
9. Start the Game
Once everyone is ready, click Start Game.
The location of the button can vary depending on the type of game mode. Gimkit currently places it in the lower center for 2D games and the upper-right area for non-2D games.
The live session then begins.
How Do Students Join a Gimkit Host Game?
Joining is easier than hosting.
Join With a Game Code
Students can go to gimkit.com/join and enter the game code displayed by the host.
They then enter their name or use the nickname provided by the teacher’s settings.
Join With a QR Code
The host can display a QR code from the game-code area.
Students can scan it with a compatible device instead of manually entering the code.
Join With a Direct Link
The host can also copy a direct link to the game and share it with students.
This can be convenient when the class is already using a learning-management system, messaging platform, or classroom communication channel.
Do Students Need a Gimkit Account?
Students do not necessarily need their own Gimkit account to participate in a live game.
Gimkit’s account documentation says educator accounts are required for creating Kits and hosting games, while student accounts are optional.
If a teacher is using Classes and students are logged in, the joining process can work differently.
Which Gimkit Game Mode Should You Choose?
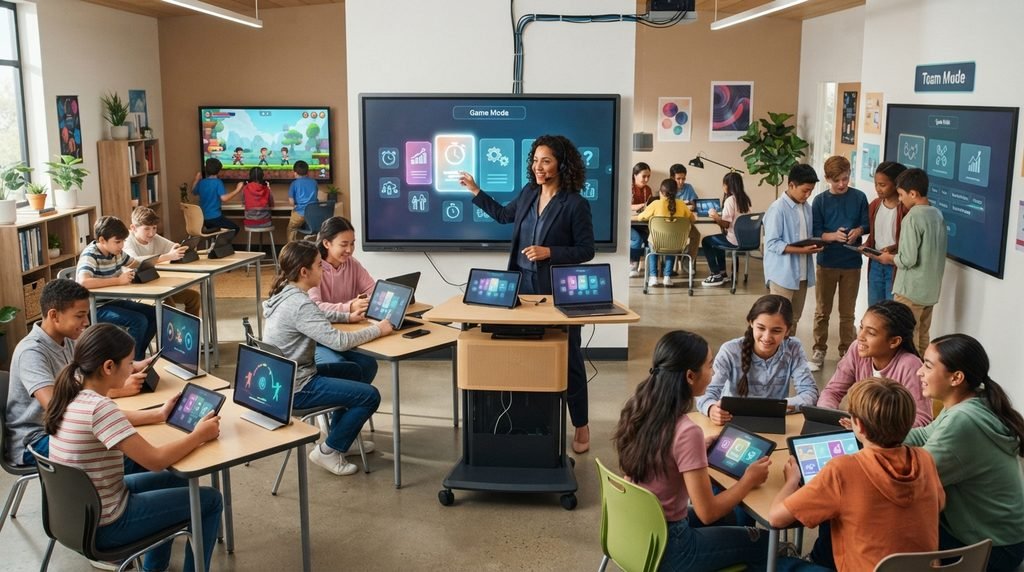
The best mode depends on what you want students to accomplish.
Direct Modes for Quick Review
For a short review session, a straightforward mode can keep the focus on answering questions rather than learning complicated gameplay mechanics.
This can be useful when students are encountering a Kit for the first time.
Collaborative Modes for Group Activities
Some modes emphasize cooperation or teams.
These can be useful when the goal is to encourage students to work together rather than focus entirely on individual rankings.
2D Modes for Interactive Gameplay
Gimkit’s 2D modes introduce a more game-like environment.
Hosts can join these games as either a player or spectator, depending on the mode and setup.
For a first session, allow students a little time to understand the controls before expecting them to focus completely on the academic content.
Gimkit Host Settings Explained
Game settings allow the host to adapt a live game to the class.
Game Goals and Time Limits
Depending on the mode, the game can use goals involving factors such as time, cash, investigations, difficulty, or questions answered.
Choose a goal that matches the amount of class time available.
Join in Late
Gimkit provides a Join in Late setting for live games.
This determines whether students can enter after the game has already started. Live games default to allowing late joining, but the host can change the setting.
If you want to prevent unexpected late arrivals, review this option before starting.
Nickname Generator
The Nickname Generator can automatically assign safe names to students.
When it is enabled, students cannot simply enter their own name; Gimkit assigns a generated nickname instead.
This can be useful when you want to reduce inappropriate names or simplify classroom management.
Classes
Hosts can connect a class to a live game.
This can make the student experience more streamlined when students are already organized within Gimkit Classes.
Team Settings
Some game modes include team-related options.
If students are struggling to keep up individually, a collaborative or team-oriented setup may provide a different experience. Gimkit also notes that some mode-specific settings can affect the balance between gameplay and answering questions.
What Can a Gimkit Host Control During a Game?
The exact controls depend on the game mode.
Monitor Players and the Leaderboard
The host can view player information and, in applicable modes, display the leaderboard.
The leaderboard can be useful for monitoring the session, but it should not automatically be treated as a complete measure of learning.
Spectate in 2D Games
In 2D games, hosts can join as spectators or players depending on the mode.
As a spectator, the host can move between players using the available controls.
Remove a Player
If an unwanted or inappropriate player enters the game, the host has tools for managing players.
In supported non-2D modes, the host can use Quick Actions from the leaderboard to remove a player.
Adjust the Timer
Some live 2D games allow the host to add time during gameplay.
Gimkit currently documents adding one minute at a time through the game timer, with a maximum game length of 59 minutes. Time cannot be subtracted once the game is running.
End the Game Early
If the activity needs to stop before reaching its normal goal, the host can use the End Game control.
The exact interface depends on the mode.
What Happens After a Gimkit Game Ends?
Hosting isn’t finished just because the final question has been answered.
The results can help you understand what happened during the activity.
Student Overview
A student-focused view can help identify individual performance.
This can be useful when deciding which students may need additional review.
General Overview
A broader report can provide a summary of the game.
This can help you determine whether the class generally understood the material.
Question Breakdown
A question-level breakdown can help identify which questions caused difficulty.
This can be particularly useful for planning the next lesson.
Gimkit provides game reports through its reporting system, including student, general, and question-level views.
How to Use the Report for the Next Lesson
Don’t use the leaderboard alone.
Instead, look for patterns such as:
- Questions many students missed
- Topics with consistently weak performance
- Students needing additional support
- Questions that may have been unclear
- Concepts that deserve another explanation
This turns the game into a learning-feedback tool rather than simply a competition.
Is Gimkit Hosting Free?
Gimkit provides a free account option for educators, while Pro is an optional paid upgrade. Creating and maintaining a Gimkit account itself does not cost anything.
The exact features available can depend on the current account type and game mode, so check Gimkit’s current Pro documentation before relying on older feature or pricing information.
How Many Students Can Join a Gimkit Game?
Gimkit’s player limits depend on the game type and account configuration.
The platform currently documents a 500-student hard limit for live games, with a separate lower limit for 2D modes.
Because player limits and mode restrictions can change, large classes should check the current official player-limit documentation before planning a session around a specific maximum.
Common Gimkit Host Problems and Fixes
Even a correctly configured game can run into classroom problems.
Students Cannot Join
First check that students are using the current game code or join link.
If they are entering the code manually, make sure they are on the official Gimkit join page.
Also check the classroom network if multiple students are having the same problem.
Gimkit’s official joining workflow uses the game code, QR code, or shared link.
An Unknown Player Appears
Check the lobby before starting.
If an unfamiliar player appears, remove them where the selected game mode provides that control.
Avoid sharing a live game code publicly when the session is intended for a specific classroom.
Students Keep Disconnecting
Check the local network first.
If many students experience problems simultaneously, the issue may be related to the classroom’s internet connection rather than the individual devices.
Also avoid unnecessary browser tabs or applications consuming significant bandwidth during a large session.
The Game Is Too Focused on Gameplay
Some 2D modes allow hosts to adjust how gameplay rewards relate to answering questions.
Gimkit specifically provides 2D game-balance settings that can increase or reduce the relationship between correct answers and gameplay progression.
If the game is becoming more about the mechanics than the review material, adjust the available mode settings.
Students Do Not Understand the Mode
Don’t assume students already know how every game works.
For an unfamiliar mode:
- Explain the objective.
- Explain how answering questions affects gameplay.
- Demonstrate the important controls.
- Start the activity.
- Pause briefly if the class needs clarification.
This can save time later.
Tips for Hosting a Better Gimkit Review
Match the Mode to the Learning Goal
Choose a mode because it supports the lesson, not simply because it looks entertaining.
If the goal is rapid recall, keep the setup simple.
If the goal is collaboration, choose a mode that supports teamwork.
Test the Kit Before Class
Review the questions and answers before students arrive.
Check for:
- Incorrect answer keys
- Ambiguous wording
- Duplicate questions
- Missing information
- Questions that are unnecessarily difficult
Explain the Rules Before Starting
Tell students:
- Where to join
- What the game objective is
- Whether late joining is allowed
- What the winning condition means
- What behavior is expected
A one-minute explanation can prevent a lot of confusion.
Leave Time for Review
Don’t use the entire class period on gameplay.
Leave enough time to examine results and discuss questions that students struggled with.
Use Reports to Guide Follow-Up Teaching
The most useful result may not be the student at the top of the leaderboard.
A question that many students answered incorrectly can reveal a topic that needs additional teaching.
Frequently Asked Questions About Gimkit Host
1. What is a Gimkit host?
A Gimkit host is the person who organizes and runs a live Gimkit game by selecting a Kit, choosing a game mode, configuring settings, sharing the joining method, starting the session, and managing the game.
2. How do I host a Gimkit game?
Sign in to your educator account, select a Kit, click Play Live, choose a game mode, configure the game options, share the game code or link, and click Start Game when students are ready.
3. Do I need an account to host Gimkit?
Yes. Gimkit says an account is required to create Kits and host games. Student accounts, however, are optional for participating in live games.
4. How do students join a Gimkit host game?
Students can use the game’s QR code, join link, or game code. With the code, they can visit gimkit.com/join and enter the code provided by the host.
5. Do students need a Gimkit account?
No. Gimkit says student accounts are optional for participation in live games.
6. Can students join with a QR code?
Yes. A host can display the QR code by hovering over the game code in the hosting interface.
7. Can a Gimkit host remove a player?
Yes, supported game modes provide player-management controls. For example, Gimkit’s Quick Actions allow hosts of supported non-2D games to remove players.
8. Can a Gimkit host spectate a game?
Yes. In 2D games, the host can choose whether to participate as a player or spectate, depending on the game setup.
9. Can a Gimkit host end a game early?
Yes. Hosts can use the End Game control to stop a live game before its normal completion condition.
10. How do I see Gimkit game results?
Gimkit provides game reports that can be reviewed after a game, including student, general, and question-level information.
11. Is Gimkit hosting free?
Gimkit offers free educator accounts, with Pro available as an optional paid upgrade. Features can vary by account type and game mode.
12. How many students can join a Gimkit game?
The limit depends on the type of game and account. Gimkit currently documents a 500-student hard limit for live games, with a separate lower limit for 2D modes.
Final Thoughts on Gimkit Host
A Gimkit host does much more than press a Start button. The host chooses the Kit, selects the game mode, configures the session, gets students into the lobby, starts the game, manages the live activity, and can review the results afterward.
For most teachers, the basic workflow is easy to remember:
Select a Kit → Play Live → Choose a Mode → Set Options → Share the Code/QR/Link → Check the Lobby → Start Game.
The biggest difference between a smooth Gimkit session and a frustrating one is preparation. Check the Kit, choose a mode that matches the lesson, review the game settings, make sure students know how to join, and leave time to use the results after the game.
Used that way, Gimkit becomes more than a live quiz: it can provide a structured way to review material, engage students, and identify topics that may need further teaching.